50% OFF Launch sale, MechaPaint is half off.
Click to join in!Come hang out and talk about the future of art as we know it!

MechaPaint / Free Up RAM

PC TUNE-UP

Free up RAM on Windows

Five background services you can switch off, plus a handful of easy extras, so more of your memory goes to the apps you actually care about. Big textures, lots of layers, a browser full of reference tabs... they all love free RAM.

QUICK OVERVIEW

What you can expect to get back

Together, these tweaks can hand back anywhere from a few hundred MB to several GB. The biggest wins show up on PCs with 4 to 8 GB of RAM. Every machine is different, so measure before and after (it takes one minute, and I show you how below). Every change here is fully reversible, and the undo commands are at the bottom of the page.

TipEstimated savingsBest for
1. SysMain (Superfetch)Up to 1 - 2 GBPCs on an SSD
2. Connected User Experiences and TelemetryUp to 400 - 800 MBEveryone
3. Delivery OptimizationUp to 500 MB, plus upload bandwidthEveryone
4. Windows Search indexerUp to 300 - 600 MBPeople who search for apps, not documents
5. Diagnostic Policy Service and Memory CompressionUp to 500 MB - 1.3 GB combined4 - 8 GB machines
6 - 13. Bonus tipsOften the biggest win of allEveryone
BEFORE YOU START

Two minutes of setup that pay off

Take a "before" reading

  1. Restart your PC and give it two minutes to settle.
  2. Press Ctrl + Shift + Esc to open Task Manager.
  3. Open Performance, then Memory.
  4. Write down In use and Available. That is your starting line.

Make a restore point

  1. Press Win + R, type sysdm.cpl, and press Enter.
  2. Open the System Protection tab and click Create.
  3. Name it something like "Before RAM tweaks" and click Create.

A safety net you will probably never need. It takes about thirty seconds, and it means every tweak below is worry free.

Opening services.msc

Tips 1, 2, 4, and 5 all happen in the same window. Press Win + R, type services.msc, and press Enter. The list is alphabetical, so press the first letter of a service name to jump straight to it.

Prefer typing? Each of those tips also has a one-line command for an admin terminal. Right-click the Start button and pick Terminal (Admin) or Windows PowerShell (Admin).

THE BIG FIVE

Five services worth switching off

01

SysMain (Superfetch)

Estimated savings: up to 1 - 2 GB

Why switch it off: SysMain was designed in the days of spinning hard drives. It watches what you run and preloads those apps into RAM before you launch them. On a modern SSD, apps already open fast, so the preloading adds very little while holding on to a big chunk of memory and keeping the drive busy in the background.

Good to know: much of what SysMain holds is cache that Windows can hand back when an app asks for it. So the biggest change you will see is in the In use number and in quieter disk activity. If you still run Windows from a spinning hard drive, keep SysMain on. It is genuinely helping you there.

How to switch it off

  1. Open services.msc.
  2. Find SysMain, right-click it, and select Stop.
  3. Right-click it again, choose Properties, set Startup type to Disabled, and click Apply.

Or in an admin terminal:

Stop-Service SysMain -Force
Set-Service SysMain -StartupType Disabled
02

Connected User Experiences and Telemetry

Estimated savings: up to 400 - 800 MB

Why switch it off: This service logs how you use your PC, including which apps you open and how long windows stay in focus, and sends that diagnostic data to Microsoft. Your PC runs perfectly well without it.

How to switch it off

  1. In services.msc, find Connected User Experiences and Telemetry.
  2. Right-click it, select Stop, open Properties, set Startup type to Disabled, and click Apply.
  3. Important follow-up: open Settings > Privacy & security > Diagnostics & feedback and turn off Send optional diagnostic data. That keeps Windows collecting only the required minimum from here on.

Or in an admin terminal (the service's short name is DiagTrack):

Stop-Service DiagTrack -Force
Set-Service DiagTrack -StartupType Disabled
03

Windows Update Delivery Optimization

Estimated savings: up to 500 MB, plus upload bandwidth

Why switch it off: Delivery Optimization turns your PC into a peer-to-peer distribution hub. Once you download a Windows update, your machine uploads pieces of it to other PCs on your network and across the internet. Turning it off keeps that memory and that upload bandwidth for you. Windows Update keeps working normally and downloads straight from Microsoft.

How to switch it off

  1. Open Settings > Windows Update.
  2. Select Advanced options > Delivery Optimization.
  3. Turn off Allow downloads from other devices (Windows 10 calls it Allow downloads from other PCs).
05

Diagnostic Policy Service and Memory Compression

Estimated savings: up to 500 MB - 1.3 GB combined

A. Diagnostic Policy Service

This service constantly watches background processes so it can spot and report non-critical system problems. It also powers the built-in Windows troubleshooters, like the network one. If you rarely use those, it is an easy win. If a troubleshooter ever needs it, flip it back on with the undo commands below.

  1. In services.msc, find Diagnostic Policy Service.
  2. Right-click it, select Stop, open Properties, set Startup type to Disabled, and click Apply.

Or in an admin terminal:

Stop-Service DPS -Force
Set-Service DPS -StartupType Disabled

B. Memory Compression (best tested on 4 - 8 GB machines)

Instead of writing unused memory out to disk, Windows squeezes it and keeps it in RAM. That keeps RAM looking full, and the squeezing and unsqueezing costs CPU time. On some lower-memory PCs, switching it off makes things feel snappier. On others, compression is the thing keeping them off the disk. The only way to know which camp your PC is in is to try it, so this is the one tip where the before and after numbers really matter.

  1. Right-click the Start button and select Terminal (Admin) or Windows PowerShell (Admin).
  2. Check the current status:
    Get-MMAgent
  3. If MemoryCompression reads True, switch it off:
    Disable-MMAgent -MemoryCompression
  4. Restart your PC. The change takes effect after the restart.
  5. Run Get-MMAgent again. MemoryCompression should now read False.
  6. Use your PC normally for a day. If it feels slower, or the disk light is busier, turn compression back on with Enable-MMAgent -MemoryCompression and restart.
BONUS TIPS

Eight more easy wins

These often free up even more than the services above, because they go after the apps that load themselves every time you sign in.

06

Trim your startup apps

Chat apps, game launchers, cloud sync tools, and updaters all love to start with Windows and sit in the background all day.

  1. Open Task Manager (Ctrl + Shift + Esc).
  2. Open Startup apps (the Startup tab on Windows 10).
  3. Right-click anything you can happily launch yourself and choose Disable.

The app still works whenever you open it. It just waits to be asked.

07

Find the hungry apps

In Task Manager, open Processes and click the Memory column header to sort by it. The top of that list tells you exactly where your RAM is going. Close or uninstall what you do not need.

Also peek at the system tray (the small arrow by the clock). Every icon there is a running app.

08

Stop background apps

Store apps can keep running after you close them.

  1. Open Settings > Apps > Installed apps.
  2. Click the ... next to an app and choose Advanced options.
  3. Set Let this app run in background to Never.

On Windows 10 this lives in Settings > Privacy > Background apps.

09

Turn off Widgets

The Widgets board keeps a small web browser running in the background to stay fresh with news and weather.

  1. Open Settings > Personalization > Taskbar.
  2. Turn off Widgets.

On Windows 10, right-click the taskbar and turn off News and interests.

10

Put your browser tabs to sleep

A browser with thirty tabs open can easily use more RAM than everything else on this page combined. Both big browsers can park the tabs you are not looking at.

  • Chrome: Settings > Performance > turn on Memory Saver.
  • Edge: Settings > System and performance > turn on Save resources with sleeping tabs.
11

Let Windows manage the page file

When RAM fills up, Windows borrows space on your drive called the page file. Your PC can hold as much as your RAM plus your page file, so a healthy page file is what keeps big jobs running smoothly on a busy day.

  1. Press Win + R, type sysdm.cpl, and press Enter.
  2. Open Advanced, then Performance > Settings.
  3. Open Advanced again and click Change under Virtual memory.
  4. Tick Automatically manage paging file size for all drives, then click OK.

If an old "speed up your PC" guide ever had you shrink or remove the page file, this puts it right.

12

Restart, not just shut down

With Fast Startup on, Shut down saves part of Windows to disk and brings it right back next time, including any memory that slowly built up. Restart gives you a truly fresh start. If your PC has been up for days, one restart often hands back a surprising amount of RAM.

13

Switch off background game recording

Xbox Game Bar can keep a rolling recording of your games in memory so you can save the last few minutes.

  1. Open Settings > Gaming > Captures.
  2. Turn off Record what happened.

You can still record any time with Win + Alt + R.

MEASURE YOUR WIN

See exactly what you got back

Restart your PC, give it two minutes to settle, and open Task Manager to Performance > Memory again. Compare In use and Available with the numbers you wrote down at the start. More available memory means more room for your apps before Windows has to start using the disk.

In use

Memory that apps and Windows are actively holding. This is the number the tweaks above push down.

Available

Memory ready for the next app you open. This is the number you want to see go up.

Committed

Shown as two numbers, like 9.1 / 18.0 GB. The first is what apps have asked for, and the second is RAM plus page file. Plenty of distance between them means plenty of room for big projects.

UNDO EVERYTHING

Put it all back in one go

Changed your mind, or need a troubleshooter or file search back? Paste this into an admin terminal and restart. It sets every service above back to the way Windows ships it.

sc.exe config SysMain start= auto
sc.exe config DiagTrack start= auto
sc.exe config WSearch start= delayed-auto
sc.exe config DPS start= auto
Enable-MMAgent -MemoryCompression

Delivery Optimization and the bonus tips are all simple toggles. Flip them back in the same Settings pages you used to turn them off. And if you made a restore point at the start, that works too.

WHY I CARE

More memory, bigger paint jobs

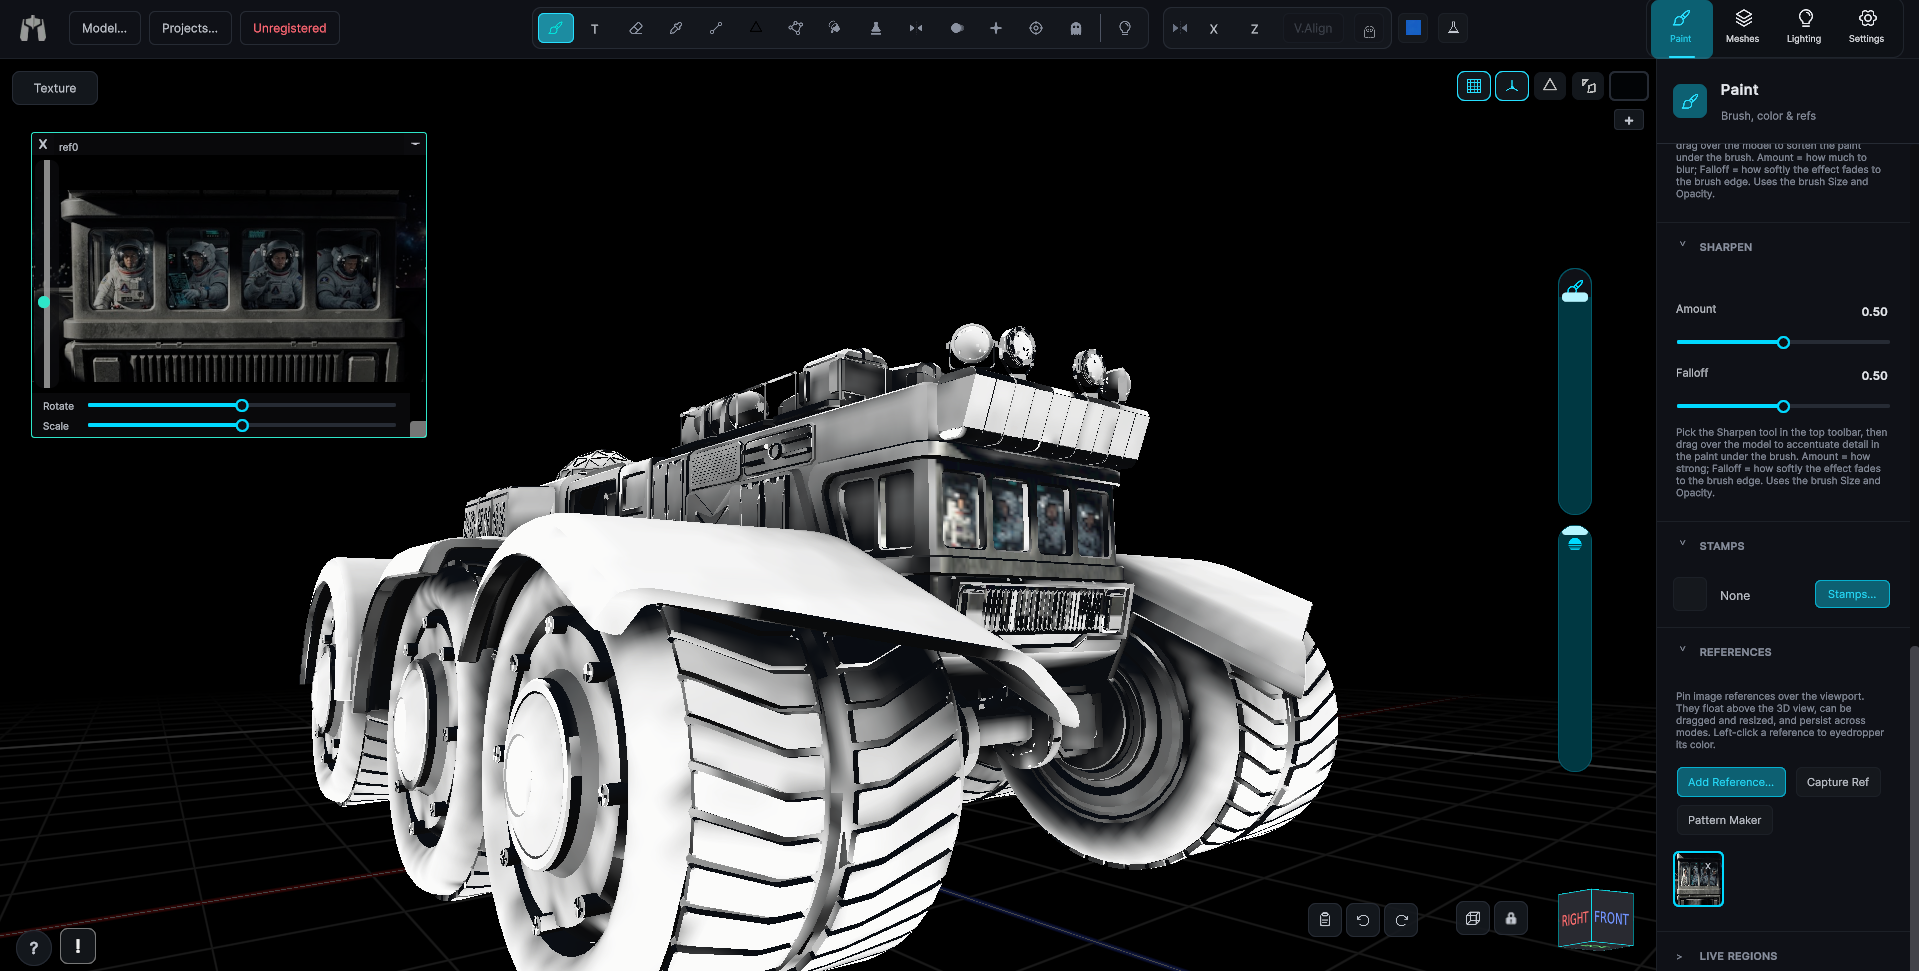
Every layer and every high resolution texture you paint in MechaPaint lives in memory, so the RAM you free up here goes straight into bigger textures, more layers, and deeper undo history. MechaPaint shows your free system memory in the bottom-left corner of the viewport. It reads white when you have plenty of room, then amber and red as memory gets tight. When it turns amber, the tips on this page are the quickest way back to white.

KEEP LOOKING

More of MechaPaint