50% OFF Launch sale, MechaPaint is half off until full PBR support ships, a few more days.
Click to join in!Come hang out with us and talk about the future of art as we know it!
MECHAPAINT + ROBLOX

Texture your Roblox meshes
in 3D, not on a flat map.

UGC items, mesh parts, and accessories all live or die on their texture, and painting them on a flat UV layout is pure guesswork. Export the mesh from Studio, paint it in MechaPaint where you can see it, and drop the finished PNG straight back in.

Every tool unlocked. Exports are watermarked until you buy.

WHY MECHAPAINT

Made for the way Roblox creators actually work

Painting directly on a Roblox mesh accessory in 3D

See your item while you paint it

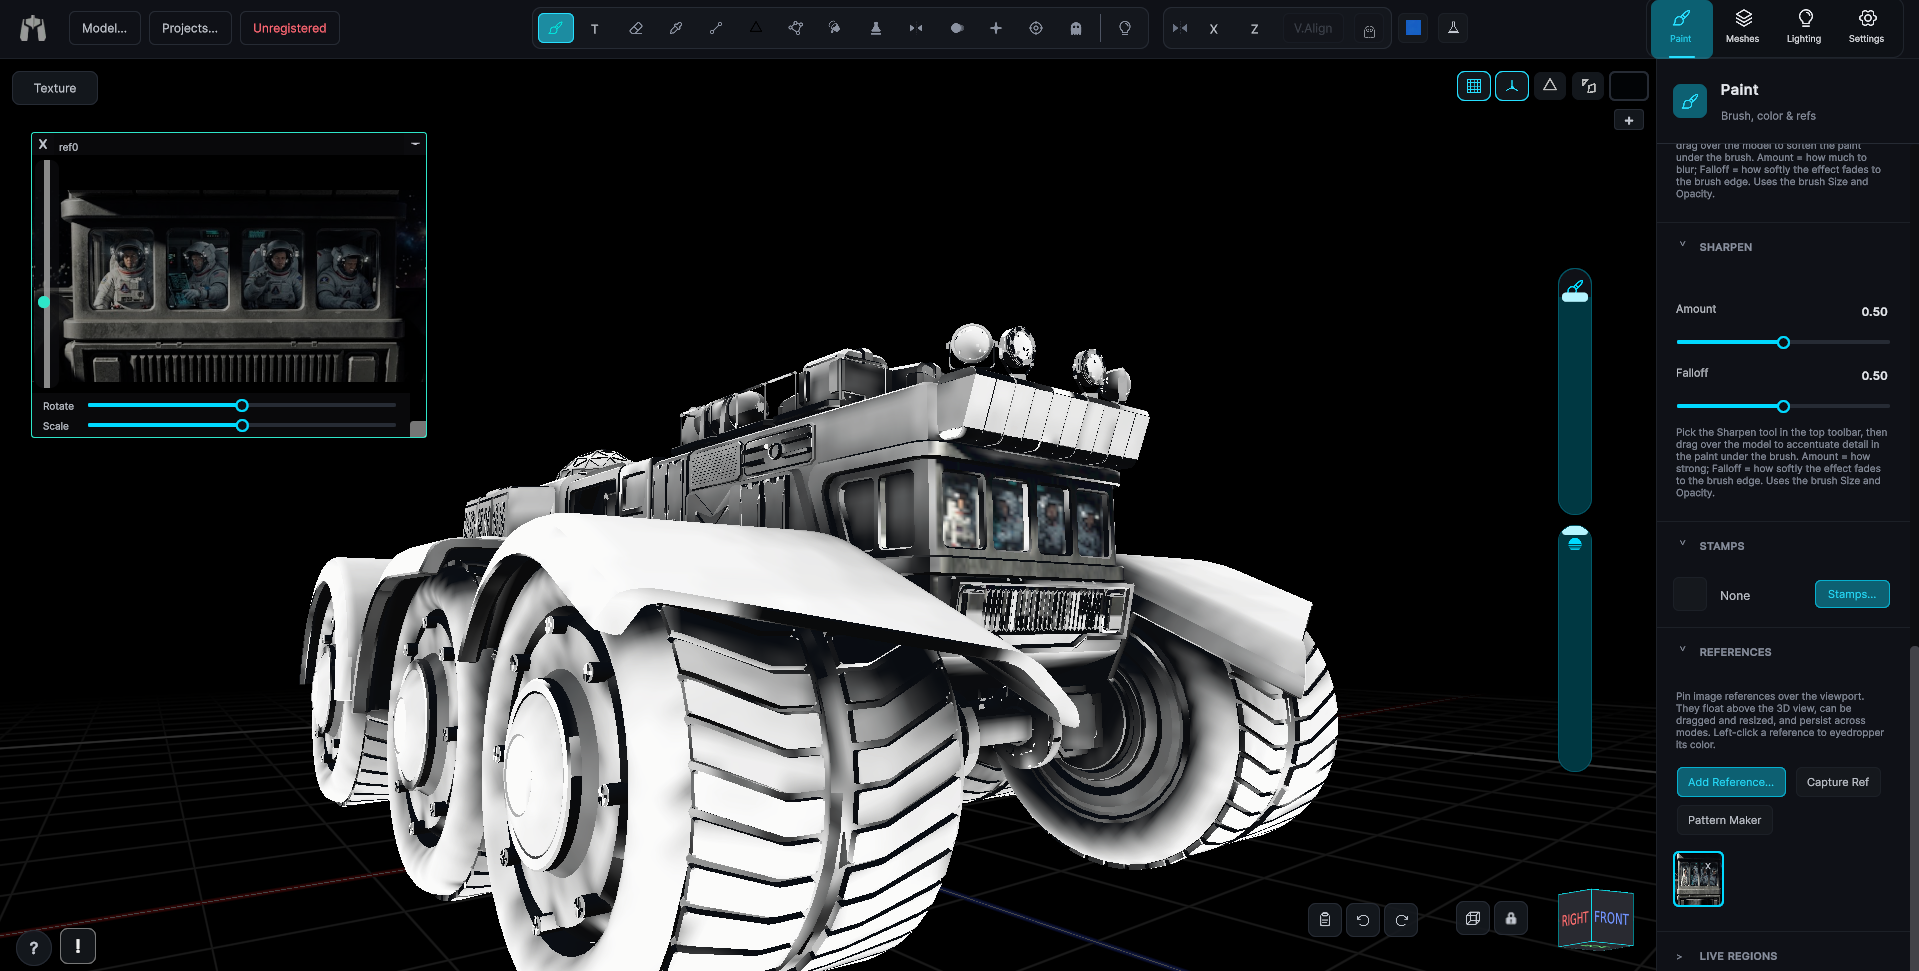
Export any mesh as OBJ or FBX from Studio and paint on it directly. Your stroke lands exactly where you put it, on the visor, along the strap, around the collar, instead of somewhere on a flat template you have to decode.

A stroke crossing a UV seam on a Roblox mesh with no visible gap

Kill the classic UGC seam lines

Those hairline cracks where texture islands meet are the telltale sign of template painting. MechaPaint's Seam Fix dilates every stroke past the seam edge automatically, so your item looks clean from every angle.

Layer stack holding several color variants of one Roblox item

Variants without repainting

Keep base, detail, and color on separate Photoshop-style layers. Toggle layers to build red, blue, and gold versions of the same item, and export each one, a whole catalog line from one paint job.

Exported PNG applied back onto the mesh in Roblox Studio

Straight back into Studio

Export writes clean PNGs on the mesh's own UVs, your originals are never touched. Import the texture in Studio, assign it to the mesh, and it lines up perfectly. No re-unwrapping, no surprises.

PIPELINE

Studio to painted and back in three steps

01

Export the mesh

Right-click your MeshPart or accessory in Studio and export it as OBJ (or bring in the FBX you built it from). Drag it onto MechaPaint.

02

Paint in 3D

Brushes, layers, symmetry, patterns, and clone stamp, all landing directly on the surface, with seams handled for you.

03

Import the PNG

Export your texture and assign it to the mesh in Studio. Same UVs, same mesh, brand-new look.

BEFORE YOU UPLOAD

What Roblox charges, as of July 2026

This part is Roblox's, not ours, and it changed on 14 July 2026: classic 2D clothing now follows the same upload and publishing rules as 3D items. Most guides you will find online still describe the old, cheaper arrangement, so it is worth knowing before you paint something you are counting on selling.

01

To upload

ID verification, or a linked parent account, and 80 Robux per item. It used to be 10 for 2D. You do not get it back if moderation rejects the item.

02

To put it on sale

2-step verification as well, plus an active Roblox Plus or Premium subscription, plus a 10 Robux publishing advance, which Roblox credits back to you out of your first sales.

03

What you earn

30% of a Marketplace sale, climbing toward 70% the further you price above the price floor. In-experience it is 30% to you and 40% to the game owner, or both if it is your own game.

The subscription is the one that catches people out, because you can paint, export, pay to upload, and only hit it at the sale step. If you already have classic clothing listed, accounts without an active subscription have their items taken off sale from 1 August 2026. Roblox moves these numbers, so check their fees and commissions page before spending anything. Testing your design in Studio stays free either way.

Your catalog deserves better than template guesswork.

Download, Windows & Mac Buy while it's half off

Buying unlocks watermark-free exports.