MechaPaint / PhotoMesh
PHOTOMESHPhotograph it. Now it is a 3D model.
PhotoMesh takes an ordinary photo and builds real, textured geometry out of it, right inside MechaPaint. No scanning rig, no photogrammetry pass, no cloud service, no waiting. Here is the entire process, start to finish. It took about a minute. A photo turning into a paintable model inside a paint app is not something I have found anywhere else. Of course, that only matters if it gets a model in front of your brush faster, and it does.
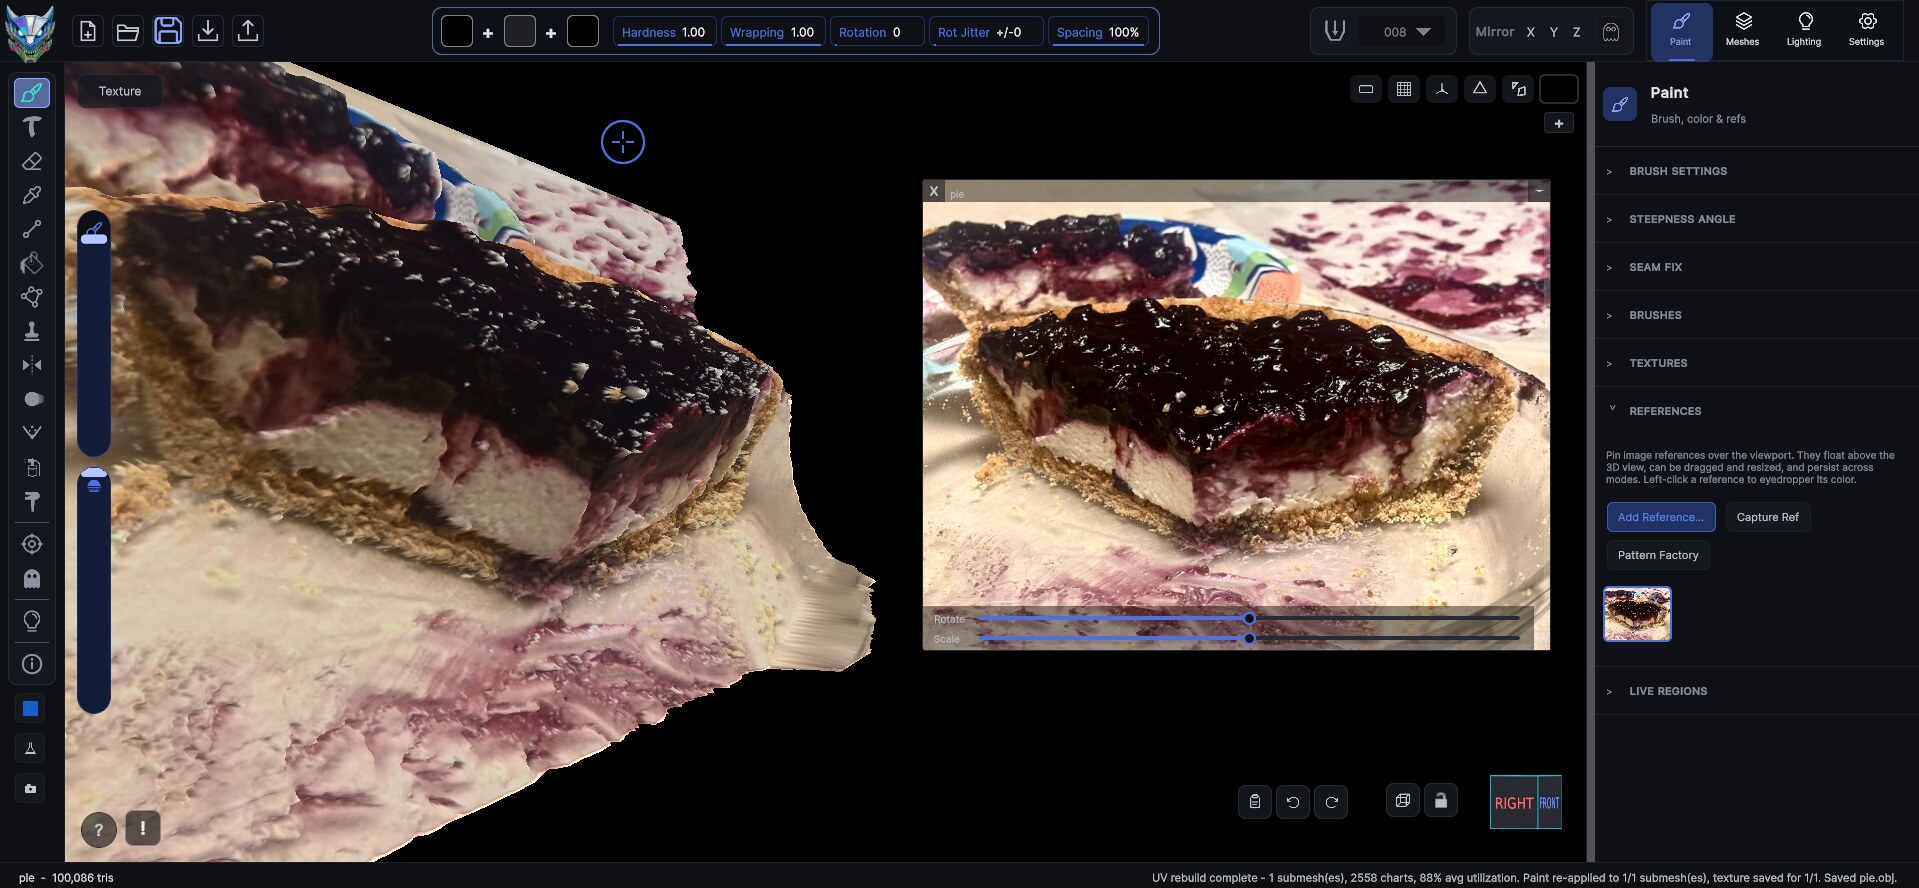
One photo of a slice of pie, in MechaPaint as a 100,086 triangle paintable model, with the original photo pinned beside it as reference.
Five steps
This is all of it. Every image below is a real screenshot of the same pie going through the process.
Click PhotoMesh
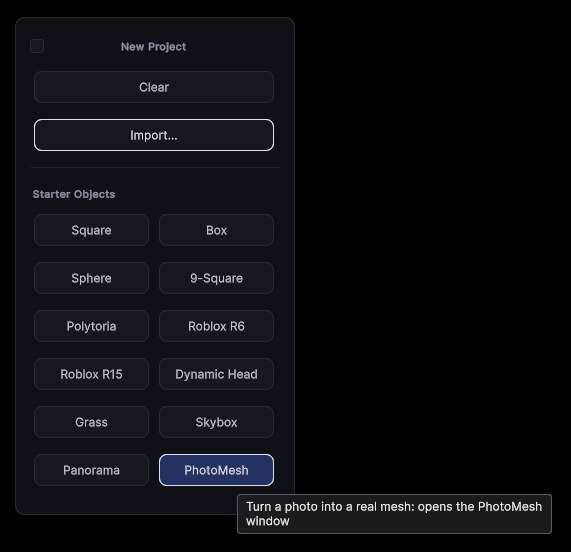
Open the New Project panel from the top toolbar. PhotoMesh sits in the Starter Objects grid, in the last slot. Click it and the PhotoMesh window opens.
Choose your photo and press Generate
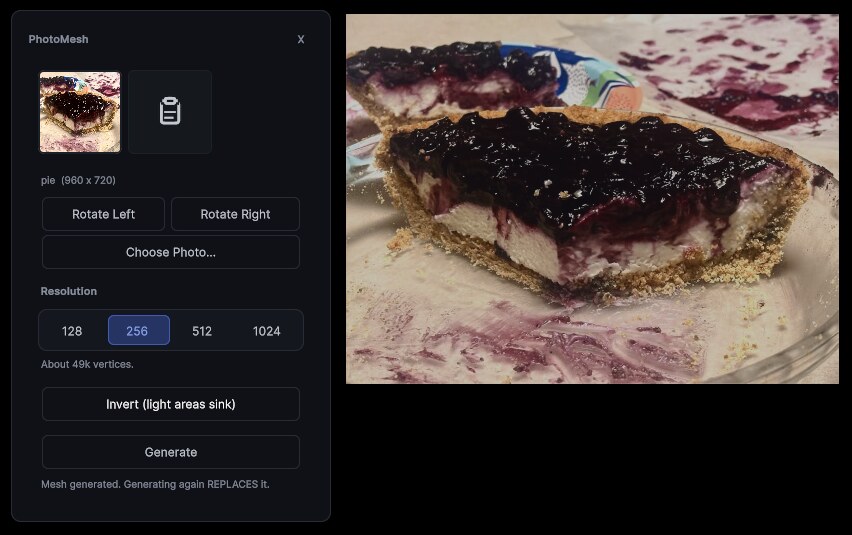
Press Choose Photo... and pick any PNG, JPG, PSD, TIFF, TGA, or BMP, or click the clipboard square to use an image you just copied. Pick a resolution, 256 is the everyday choice and tells you it is about 49k vertices before you commit. Then press Generate. That is the whole build.
Dial in the depth
The mesh appears in the viewport, textured with your photo. Drag Height and the relief pushes out live, so you can watch it come off the page. PhotoPBR... turns the same photo into a full material, color, normal, roughness, metallic, AO and height. Convert To Solid closes the back so it is a real object instead of a sheet, and the arrows step through the rest of the folder with the same settings.

Rebuild the UVs, and save
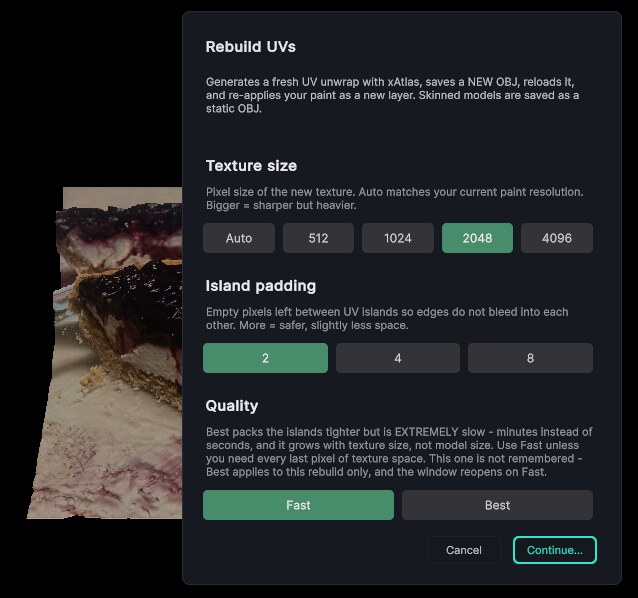
Convert To Solid hands off to Rebuild UVs, which unwraps the new geometry cleanly, rebakes the photo onto it, and saves the OBJ. Take the defaults if you are not sure. Fast is genuinely fast, and 2048 is plenty for a photo this size.
Use it anywhere
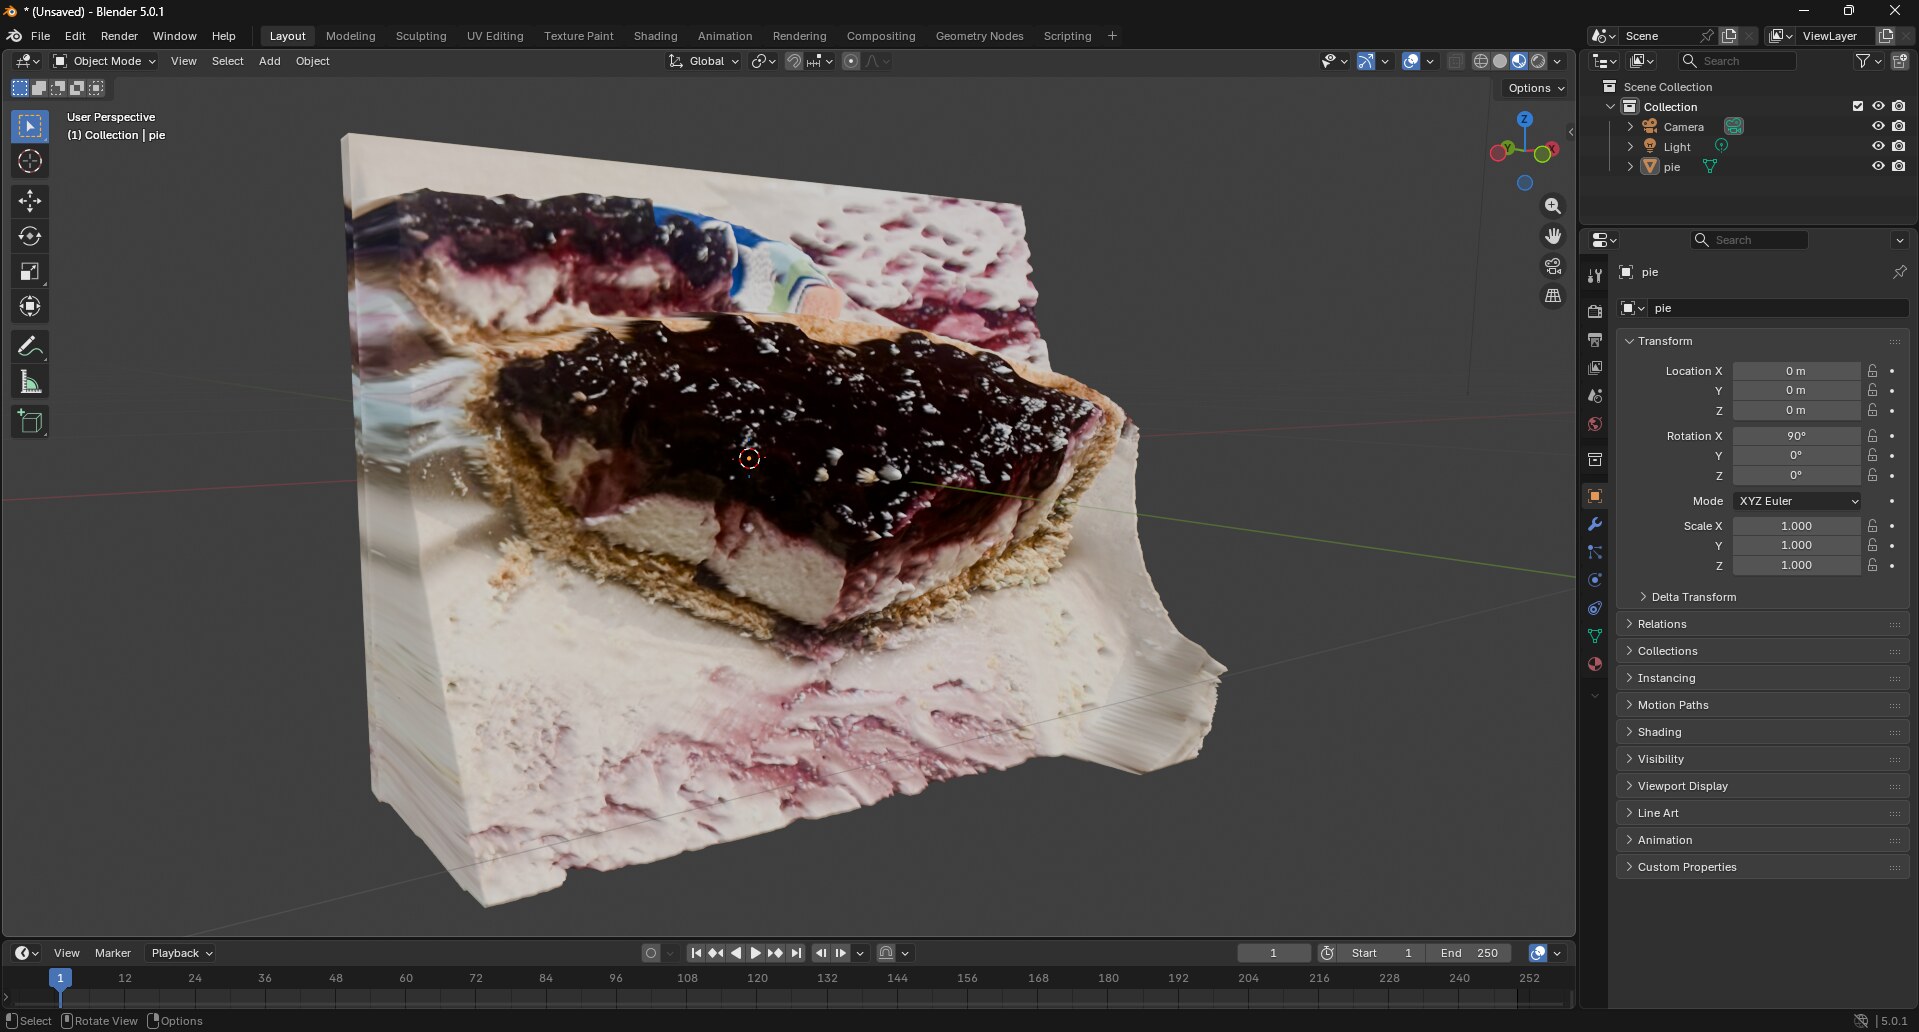
What comes out is an ordinary OBJ with an ordinary texture. Here it is opened straight into Blender, untouched. It will go into Unity, Unreal, Godot, a game, a render, or right back into MechaPaint to be painted on.
What makes a good PhotoMesh photo
Even, flat light
Hard shadows get read as depth. An overcast day or a shaded spot gives far cleaner relief than direct sun.
Shoot it square on
Point the camera straight at the subject. Anything shot at an angle bakes that angle into the geometry.
Texture beats emptiness
Crust, bark, brick, rust and rock all have depth to find. A flat painted wall has none, and will build flat.
More of MechaPaint